| 1. | On the Permission Levels page shown above, click the link Add a Permission Level. |
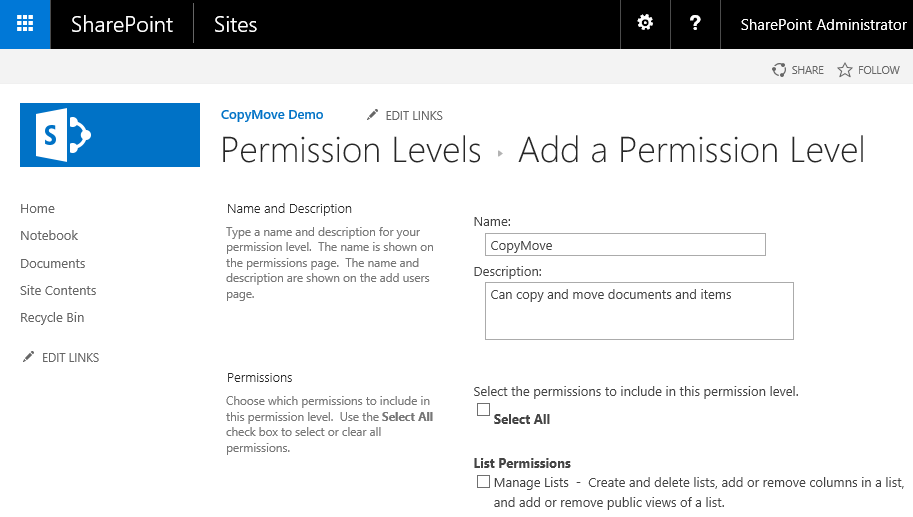
| 2. | Next on the Add a Permission Level page, specify a name and a description for the new permission level - for example:
 |
| 3. | Then scroll down to the bottom of the page and specify the appropriate CopyMove permissions for the new permission level. The following screen shot shows an example of a new permission level that will include access to the Copy and Move functions but not the Export and Import functions.
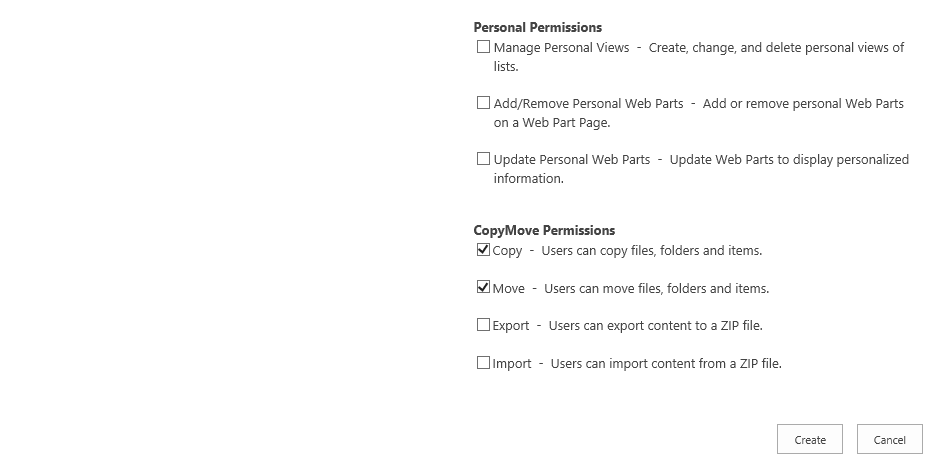
NOTE: If the CopyMove Permissions section is not shown then verify that the CopyMove site collection feature is activated and that the check box Restrict CopyMove usage to authorized users is checked on the CopyMove Site Collection Settings page.
|
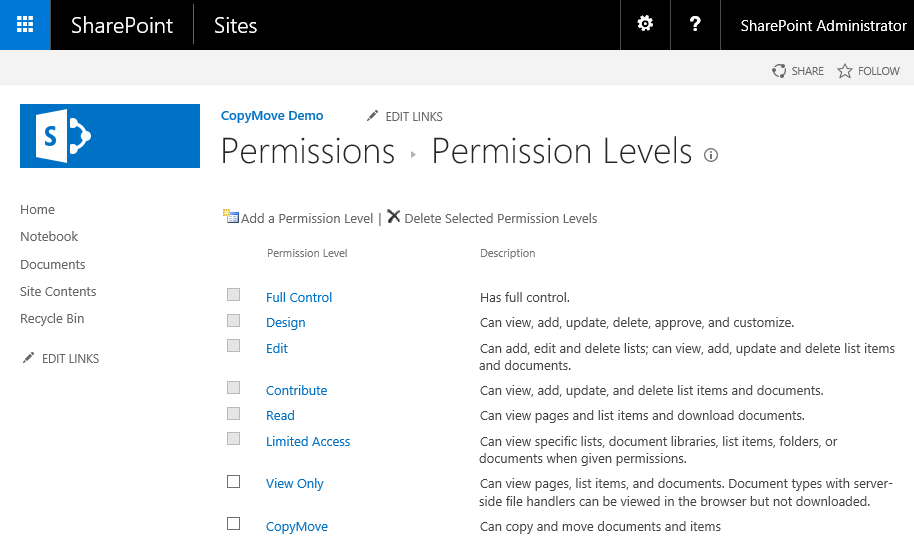
| 4. | Click the Create button to create the new CopyMove permission level. The list of permission levels now like this:
|
| 5. | To grant permissions, manage permissions as usual in SharePoint and select the users or groups for which to change the permissions as shown in the screen shot below.
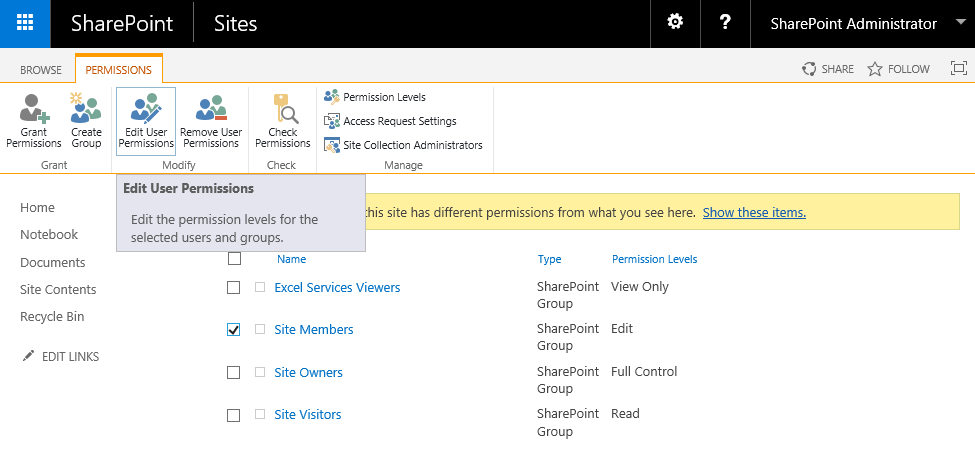 |
| 6. | Click the Edit User Permissions button to edit the permissions for the selected users and groups. This opens the standard SharePoint permissions page as shown in this screen shot:
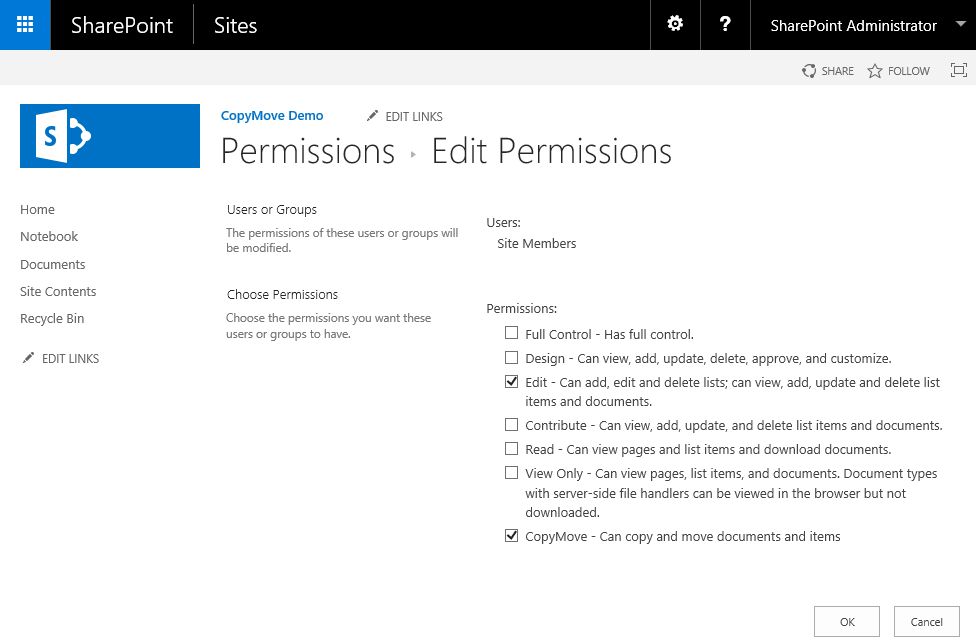 |
| 7. | Check the appropriate permissions and click the OK button to apply the change. |
|