|
SharePoint software developers building SharePoint 2010 type workflows with Visual Studio, can simply leverage the CopyMove .NET API to execute copy, move, export and import operations. Workflows created with SharePoint Designer 2013 can also leverage CopyMove, which installs two workflow actions for the Copy and Move operations. It is in other words possible to build a no-code workflow that copies or moves documents, items and folders with full fidelity. Let us start SharePoint Designer and create a simple SharePoint 2010 type workflow that copies the current item to another location.
| 1. | With SharePoint Designer 2013, open the SharePoint site to create a new workflow in. |
| 2. | Select the Workflows node in the left hand navigation pane. |
| 3. | Select a document library or list from the List Workflow button in the ribbon. This opens the Create List Workflow dialog as shown in the following screen shot:
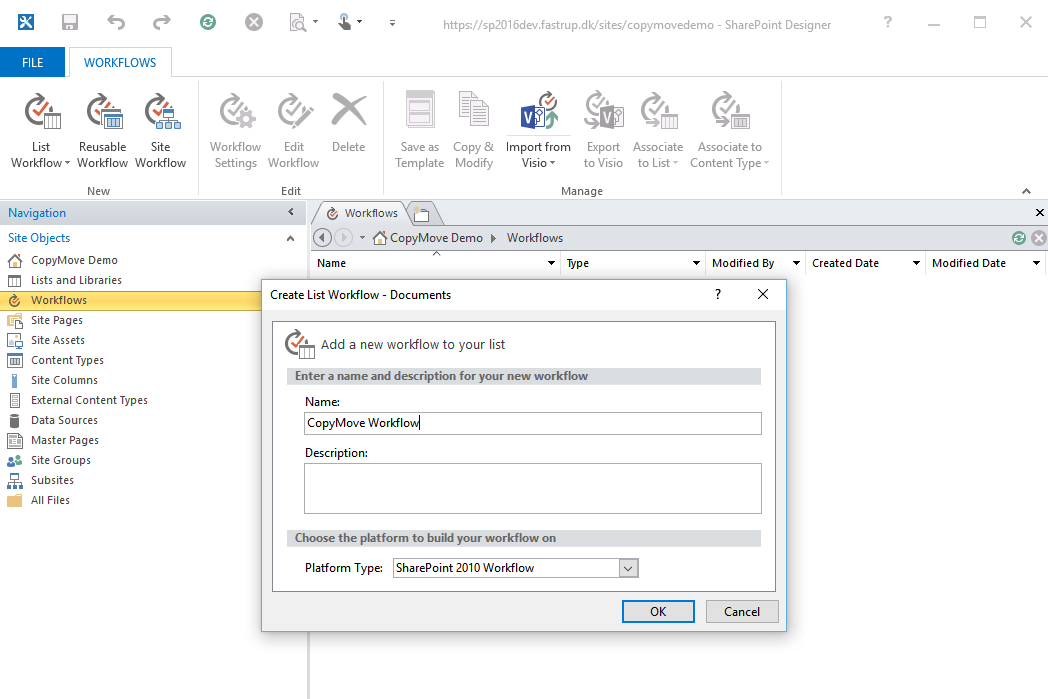 |
| 4. | Specify a name for the workflow, e.g. CopyMove Workflow and choose SharePoint 2010 Workflow as the Platform Type. Then click the OK button to create a blank workflow as shown below.
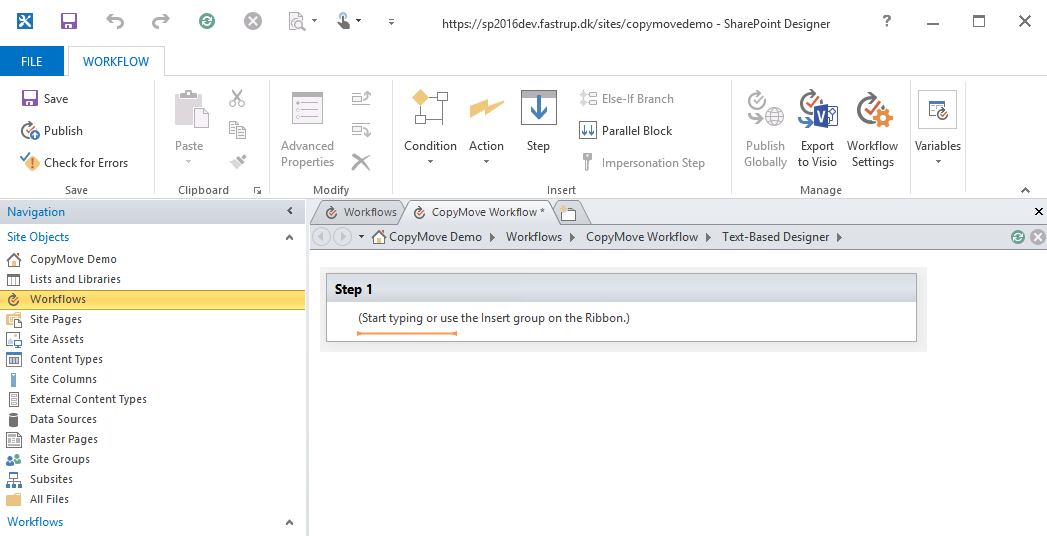 |
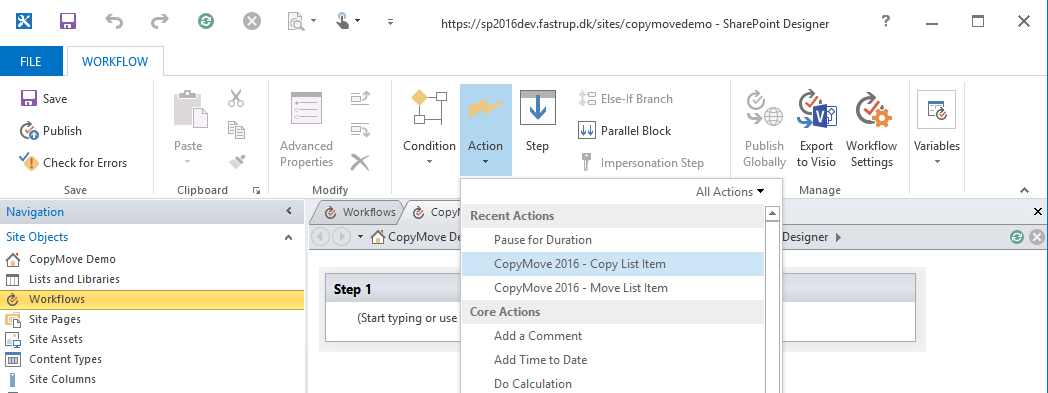
| 5. | We will keep the workflow simple and just design a one that copies the current item as soon as the workflow is started. Select Step 1 to enable the Action button in the Ribbon. Then select the action named CopyMove 2016 - Copy List Item to add it to Step 1 in the workflow.
 |
| 6. | The CopyMove action is now added to the workflow and is ready to be configured.
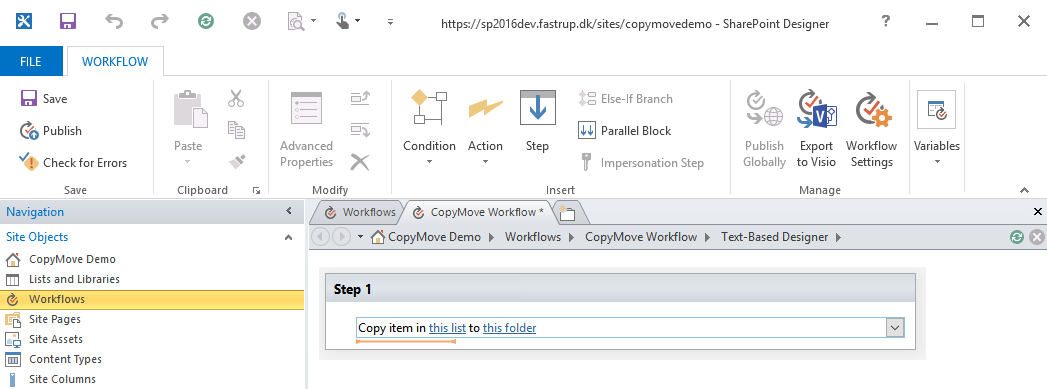 |
| 7. | Configure the workflow action to copy the Current Item to another list or another folder in the same list. Specify the server relative url of the list or folder, e.g. /sites/copymovedemo/archive. Finally, open the properties dialog of the CopyMove workflow action and configure the properties; IncludeTimestamps, IncludeUserInfo, IncludeVersions, IncludeSecurity and Overwrite.
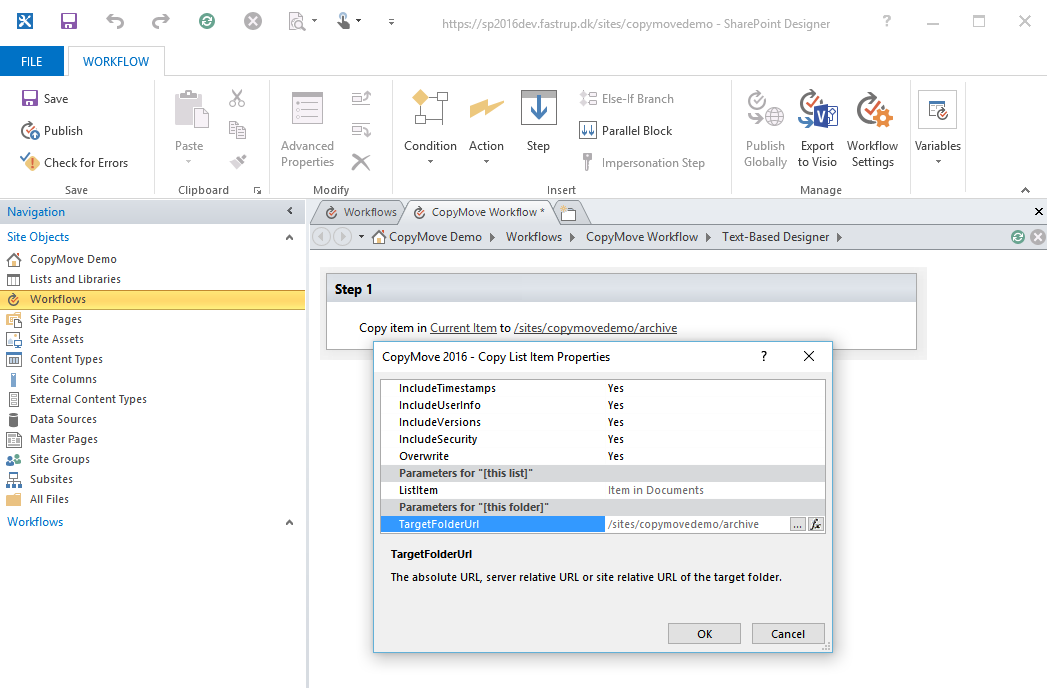
Specify IncludeTimestamps=Yes to preserve the created timestamp and the last modified timestamp of the item.
Specify IncludeUserInfo=Yes to preserve the created by user and the modified by user.
Specify IncludeVersions=Yes to preserve the complete version history of the item.
Specify IncludeSecurity=Yes to preserve any item level permissions.
Specify Overwrite=Yes to allow existing documents to be overwritten in document libraries. |
| 8. | The workflow is now ready to be deployed to SharePoint. Verify that it does not contain any errors by clicking the Check for Errors button in the ribbon. Then click the Publish button to deploy it to SharePoint. |
| 9. | Open the SharePoint site and navigate to the document library or list that the workflow was created for. Then select the item and click the Workflows button in the ribbon as shown below.
 |
| 10. | Start the workflow by clicking the link the section Start a New Workflow.
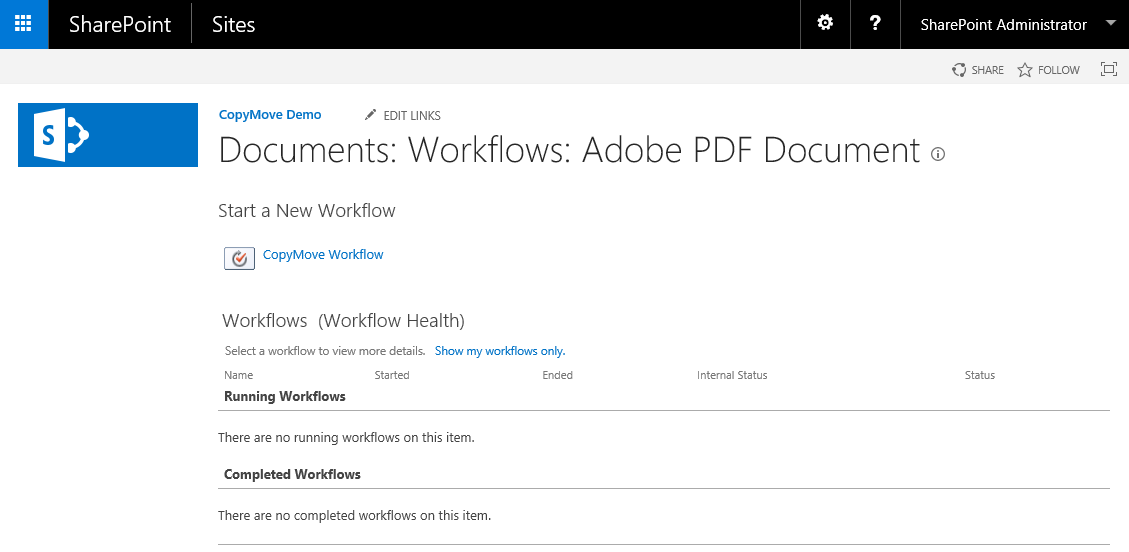 |
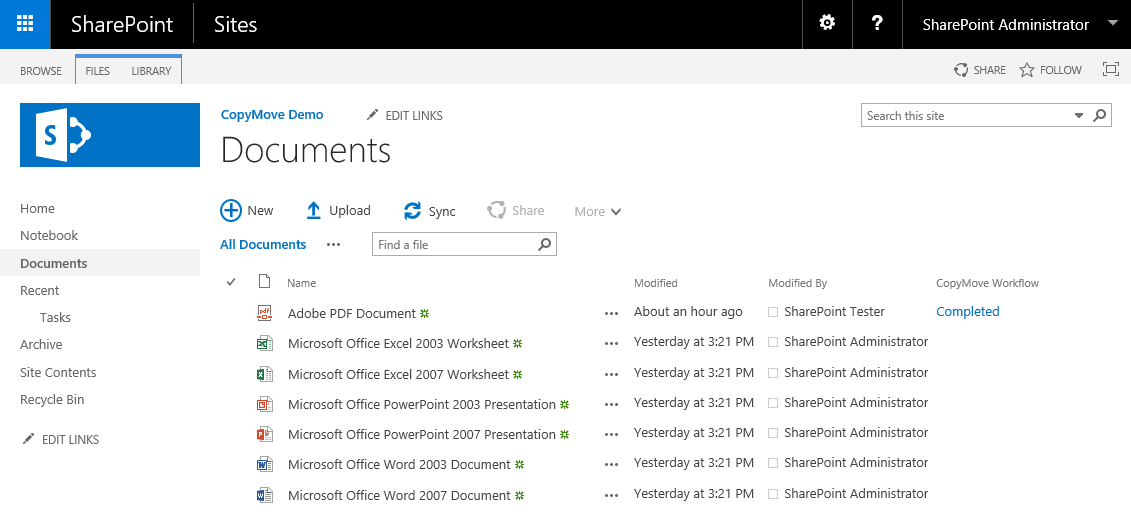
| 11. | The workflow copies the selected document to the destination location specified for the workflow action in SharePoint Designer. Once the workflow completes, it adds a new status column to the document library as shown in the following screen shot.
 |
|